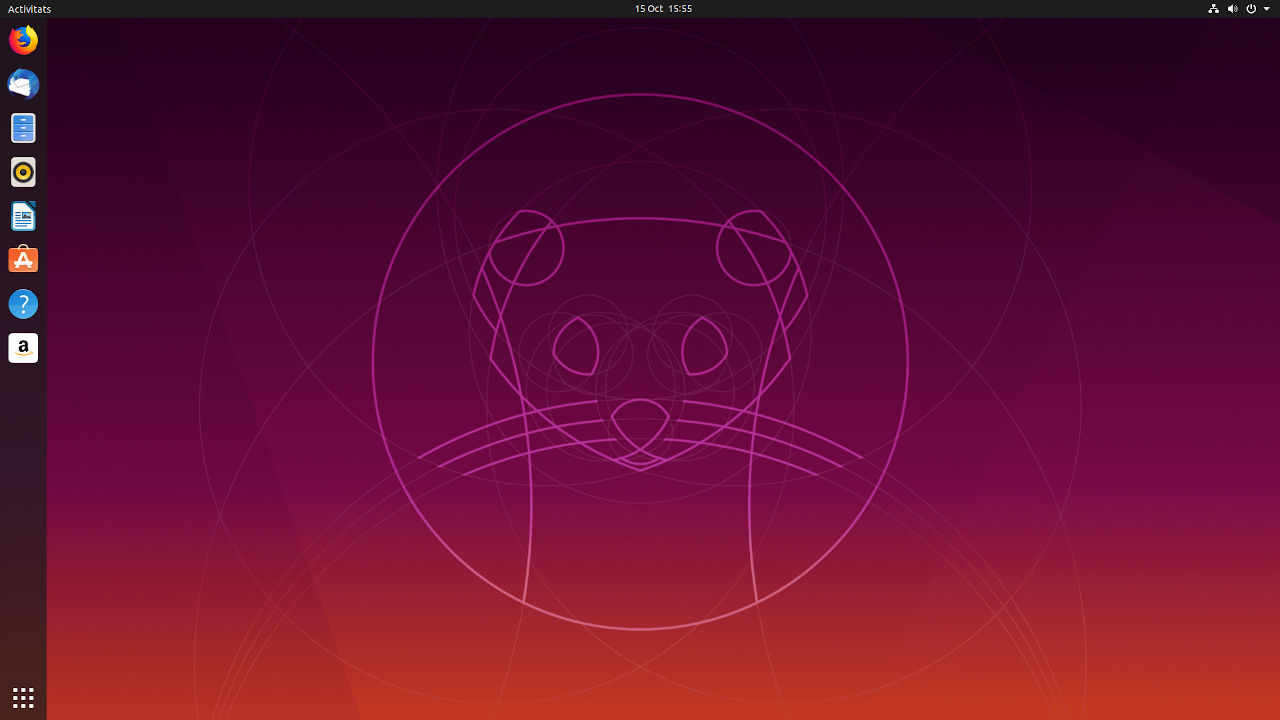
Many a time I just need a server with a desktop interface, almost all the servers are based on the command line interface because it should be minimal in order to work headless.

If you need or want to enable the desktop in Ubuntu server follow these simple steps:
Step 1: Login to the Ubuntu Server
I think most of us knows how to login and manage the server using SSH Protocol. If you are first time user to such things better read the below article.
Read: How to Connect to an SSH Server?
Step 2: Update the Software Packages
Ubuntu server has its own software package which must be updated in order to work and install the latest or updated software.
apt update
Step 3: Install the Ubuntu Desktop
Now we need to install Ubuntu Desktop.
Ubuntu allows us to install and use many more desktop interfaces that are lightweight and just perfect for small session work.
So according to your need use ANY ONE desktop from below list.
For Ubuntu Desktop
apt install ubuntu-desktop
Other GUI Desktops:
- For Lubuntu Desktop (LXQt):
apt install lubuntu-desktop - For Xubuntu Desktop (Xfce):
apt install xubuntu-desktop - For Kubuntu Desktop (KDE):
apt install kubuntu-desktop
The installation may take a few minutes, based on internet and hardware speed.
Step 4: Add a Desktop User
Since we are logged in a root user which is not recommended for a desktop user.
adduser username
You will be asked to enter few details with a new password for that user.
Step 5: Reboot
Now reboot the instance. DigitalOcean, Linode, Vultr and similar cloud server services do offer console access to manage the server. You can use that as a remote monitor.
If you want to take this to long term better install VNC or remote desktop application.
Leave a Reply