GIMP is an open source image editing software which is an alternative of well known image editing software Adobe Photoshop. We can use GIMP as a free alternative if Photoshop is not affordable and still need an image editing software for free. Today, I’ll be covering a hot topic about saving an image file to the new web standard file format, WebP.
In this article, I’ll explain how to save files to WebP in GIMP.
WebP is developed by Google, a modern image file format employing both lossy and lossless compression, along with animation and alpha transparency. Google developed a WebP file format to create smaller or better-looking images compared to the JPEG, PNG, or GIF image formats so users have to download smaller sizes of the content.
Even WordPress, a famous CMS (Content Management Software), recently announced that from the upcoming version release of 5.8, they are going to support WebP files, this is the reason why everyone is more curious to know to do this.
GIMP is open source software and primarily used by Linux users, but it is available on across the platforms, and we do not have to care about any licensing and subscription fees.
So check out how to save an image file to WebP using the GIMP tool:
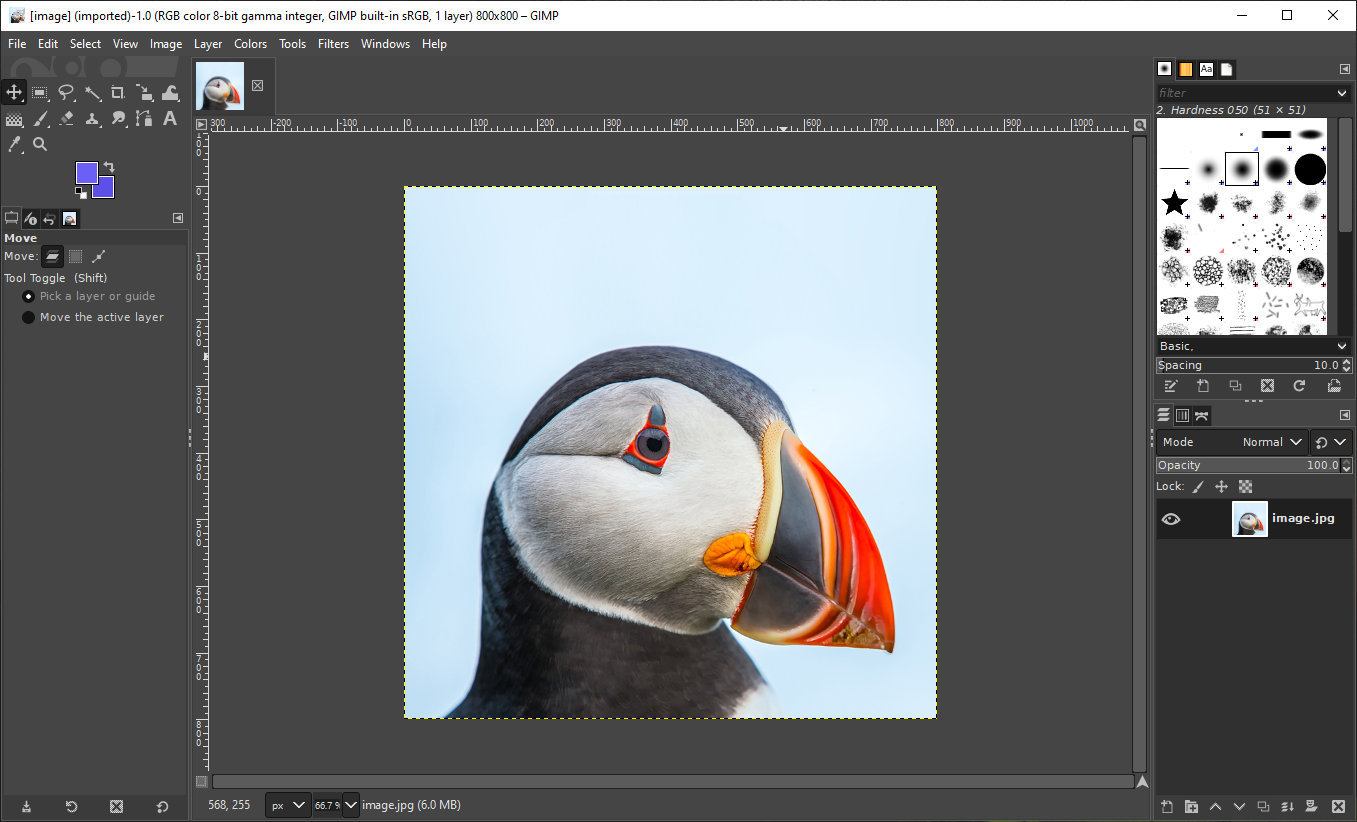
- Step 1: Open an image file in GIMP.
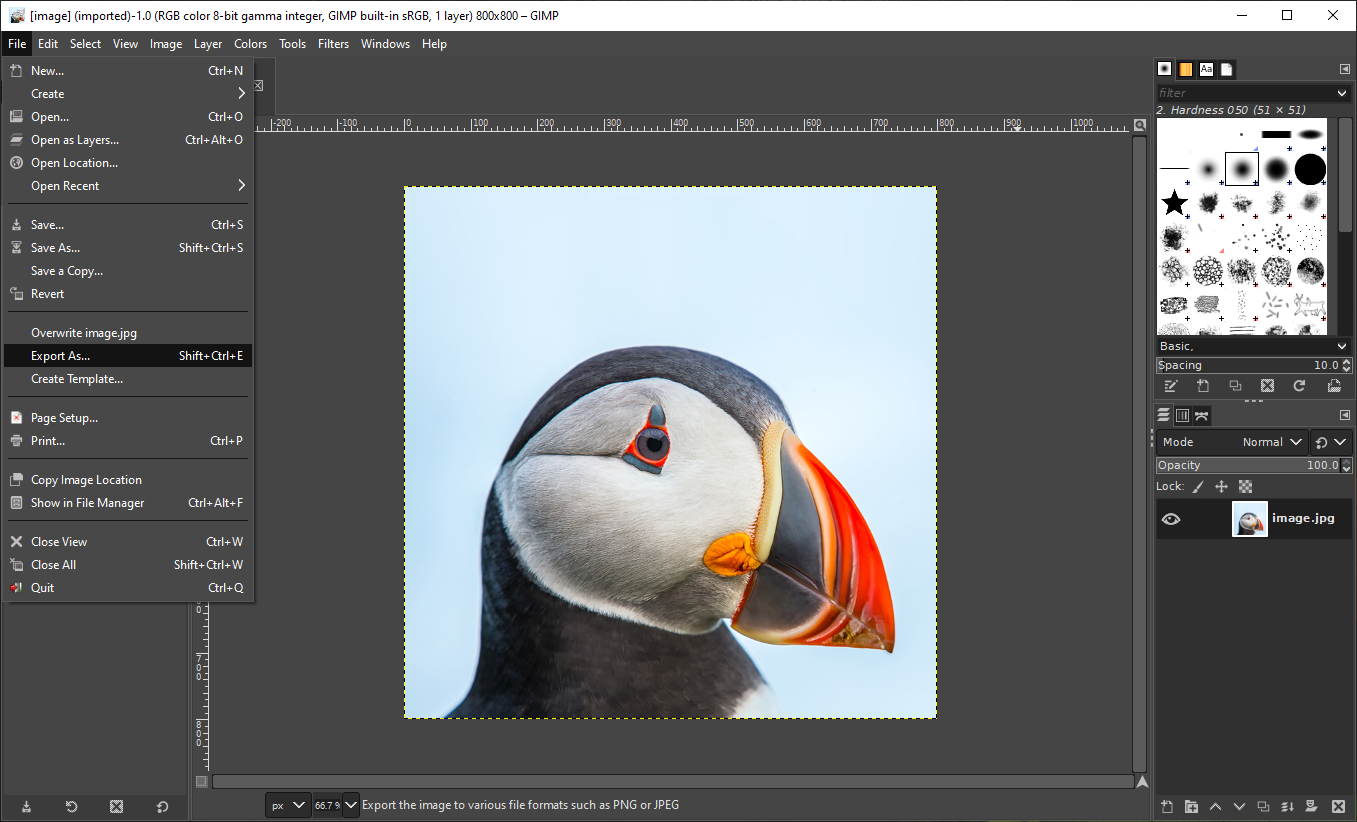
- Step 2: Once the image is open in GIMP, click on the File menu → Export As.
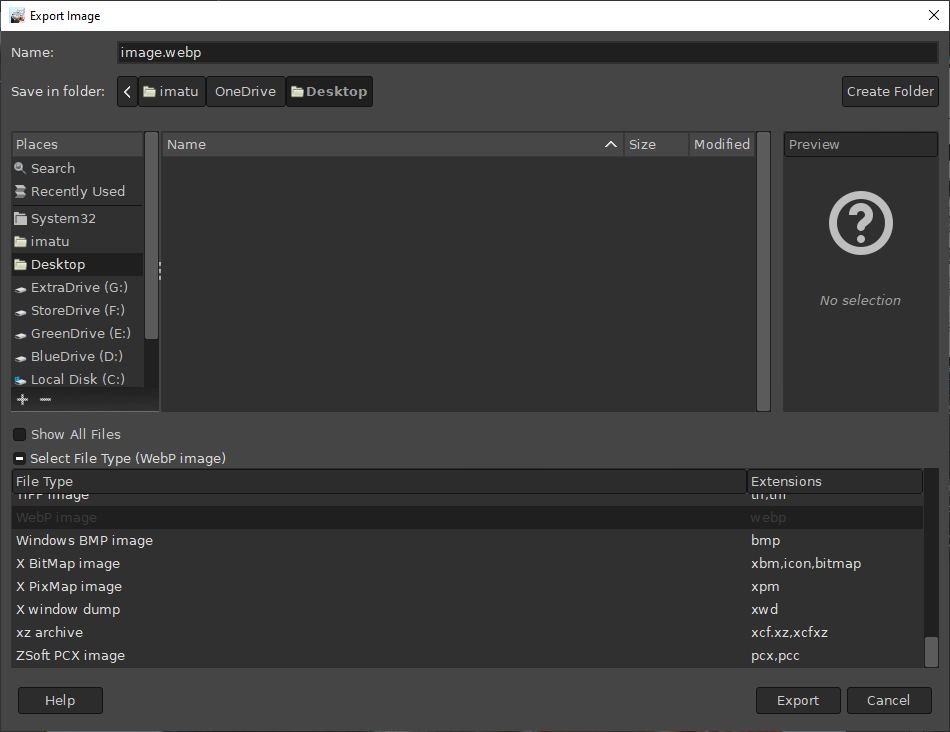
- Step 3: An Export Image window will open where you can select save location and file type. Here we need to set a save location, file type, and file name.
- First, choose where you want to export your file (in my case, it is set to Desktop).
- In that window, click on “Select File Type” and choose “WebP image“.
- Now name the file and make sure it ends with
.webpwhich is its file extension.
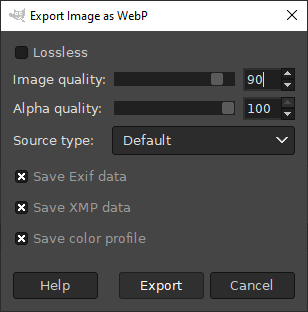
- Step 4: An Export Image as WebP window will open, here you can set image quality (default is 90, but I recommend something between 70-90 for the smaller file size).
Check out the image gallery below of the above tutorial.
So, what are the savings in the file size? Here is a clear comparison:
- The original “image.jpg” file size was 140 KB.
- Exported “image.webp” file size was 96.4 KB.
On average, you can save up to 40% in file size.
Leave a Reply