In this tutorial we will install cPanel and WHM on CentOS 7 or on RHEL and CloudLinux Platforms. In tutorial I have used DigitalOcean as web server. You can choose any of managed or unmanaged web server for this setup. Lets see about cPanel and WHM and know how to install them on CentOS 7.
About cPanel and WHM
cPanel is a web aplication that allows user to administrate servers through a GUI (Graphical User Interface) screen instead of traditional command lines which we hardly remember nowadays. Web Host Manager or WHM in short, is a powerful program that allows administrative access to the back end of cPanel.
Minimum Hardware Requirements
- Minimum & Recommended Processor should be 226MHZ
- Minimum RAM should be 1 GB
- Minimum Disk Space should be 20 GB
Before setup we also need to disable default firewall incase it is enabled. Let’s do some system checks before installing cPanel and WHM.
Step 1: OS Version Check
cat /etc/redhat-release
Output would be something like this,
CentOS Linux release 7.1.1503 (Core)
Step 2: Disk Space Check
df -h
Output would be something like this with different numbers,
Filesystem      Size  Used Avail Use% Mounted on
 /dev/sda1      100G  6.8G   94G   7% /
 devtmpfs        903M    0  903M   0% /dev
 tmpfs           920M    0  920M   0% /dev/shm
 tmpfs           920M  17M  904M   2% /run
 tmpfs           920M    0  920M   0% /sys/fs/cgroup
Make sure you have enough space to begin the installation process.
Step 3: Memory Check
free -m
Output would be something like this with different numbers,
           total        used        free      shared  buff/cache   available
Mem:        1839         651         163          16        1024        1020
Swap:          0           0           0
Step 4: Disable Firewall
Now we will disable the default firewall which might be enabled. In many cases it is disabled by default. In case it is already disabled skip this step.
iptables-save > ~/iptables.rules
systemctl stop firewalld.service
systemctl disable firewalld.service
Installation of cPanel and WHM
Install Perl
Perl referred to as Practical Extraction and Reporting Language, it is an interpreted programming language with a huge number of uses, libraries and resources. Arguably one of the most discussed and used languages on the internet, it is often referred to as the swiss army knife, or duct tape, of the web.
cPanel and WHM as well as some other web application make use Perl. So install it or update it incase already installed.
yum install perl
Set Hostname
After installation of perl, set the hostname of server, the hostname should be in FQDN i.e fully qualified domain name. To check server’s current hostname you can use hostnamectl command.
hostnamectl set-hostname admin.domain.com
Install cPanel and WHM
cd /home
curl -o latest -L https://securedownloads.cpanel.net/latest
sh latest
These command will change your session to the home directory, then downloads the latest version of cPanel & WHM, and runs the installation script.
Once the script has been started, it will setup everything for you. This setup may take about 1 hour to complete, in my setup it took about 40-45 Minutes to complete. Once the installation gets completed you will be provided details to access WHM.
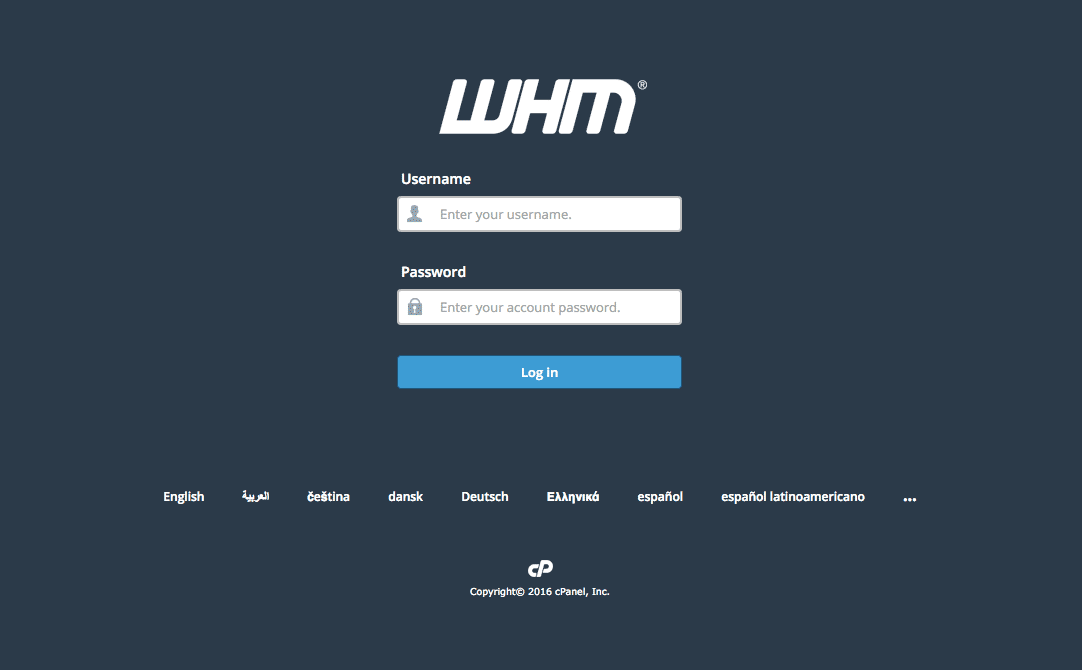
Access WHM
To access WHM, open your browser and follow below link,
https://Your-Server's-Public-IP:2087
or
https://Server's-Hostname:2087

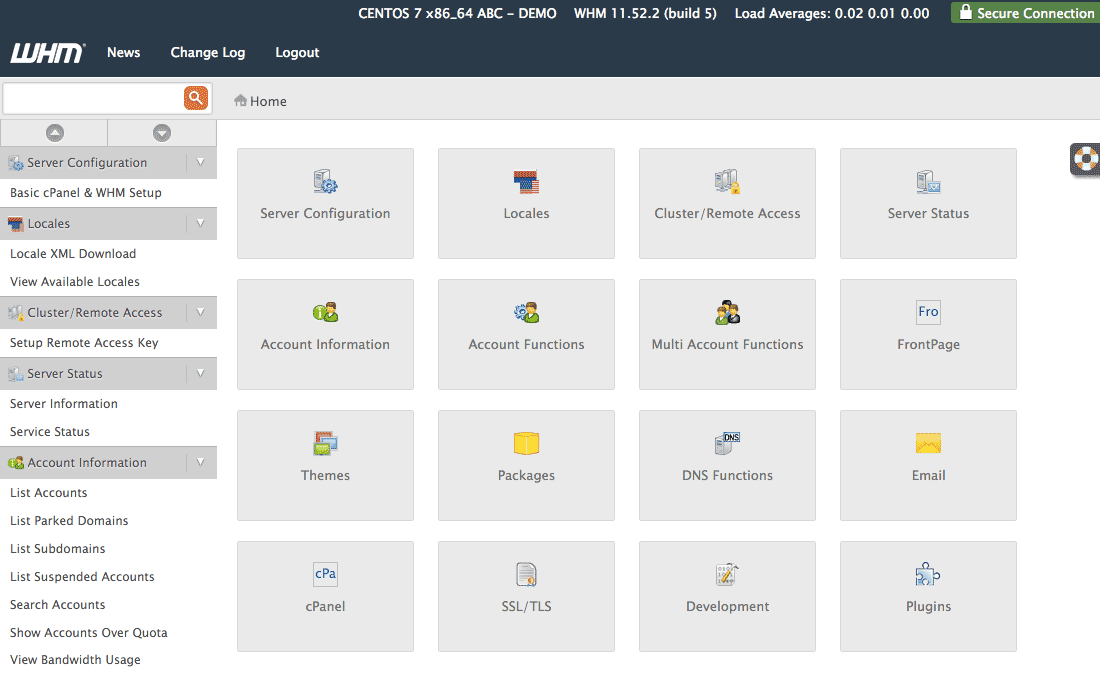
Once you logged in, you will be asked for licence agreement and you need to configure server’s networking, ip address and nameservers according to you. In most of cases all things are filled up already, if not confirm and then fill them. As soon as you done with setup you can access WHM and manage cPanel accounts. You can use it as you want.

Make sure this is trial installation; you might need to buy a complete license to activate cPanel and WHM for unintrupted uses.
Hope this tutorial is helpful to you, incase you have any concern or feedback please let me know.
Leave a Reply